~ 3 min read
Computer Vision in Python Building Detection and Object Annotation with Ultralytics YOLO and Supervision
What if you could detect speakers at a tech conference and annotate them with their names in real-time? What if you could use this to manage multi-track conference room occupancy? These are just some off-the-cuff ideas to get your creative juices flowing. This is the power of computer vision and object detection.
Python is most naturally known for its data science and machine learning libraries so we’ll be building a simple computer vision project in Python, an open-source image detection model and another open-source annotation model to achieve the basic functionality.
Our goal is to annotate the following picture:
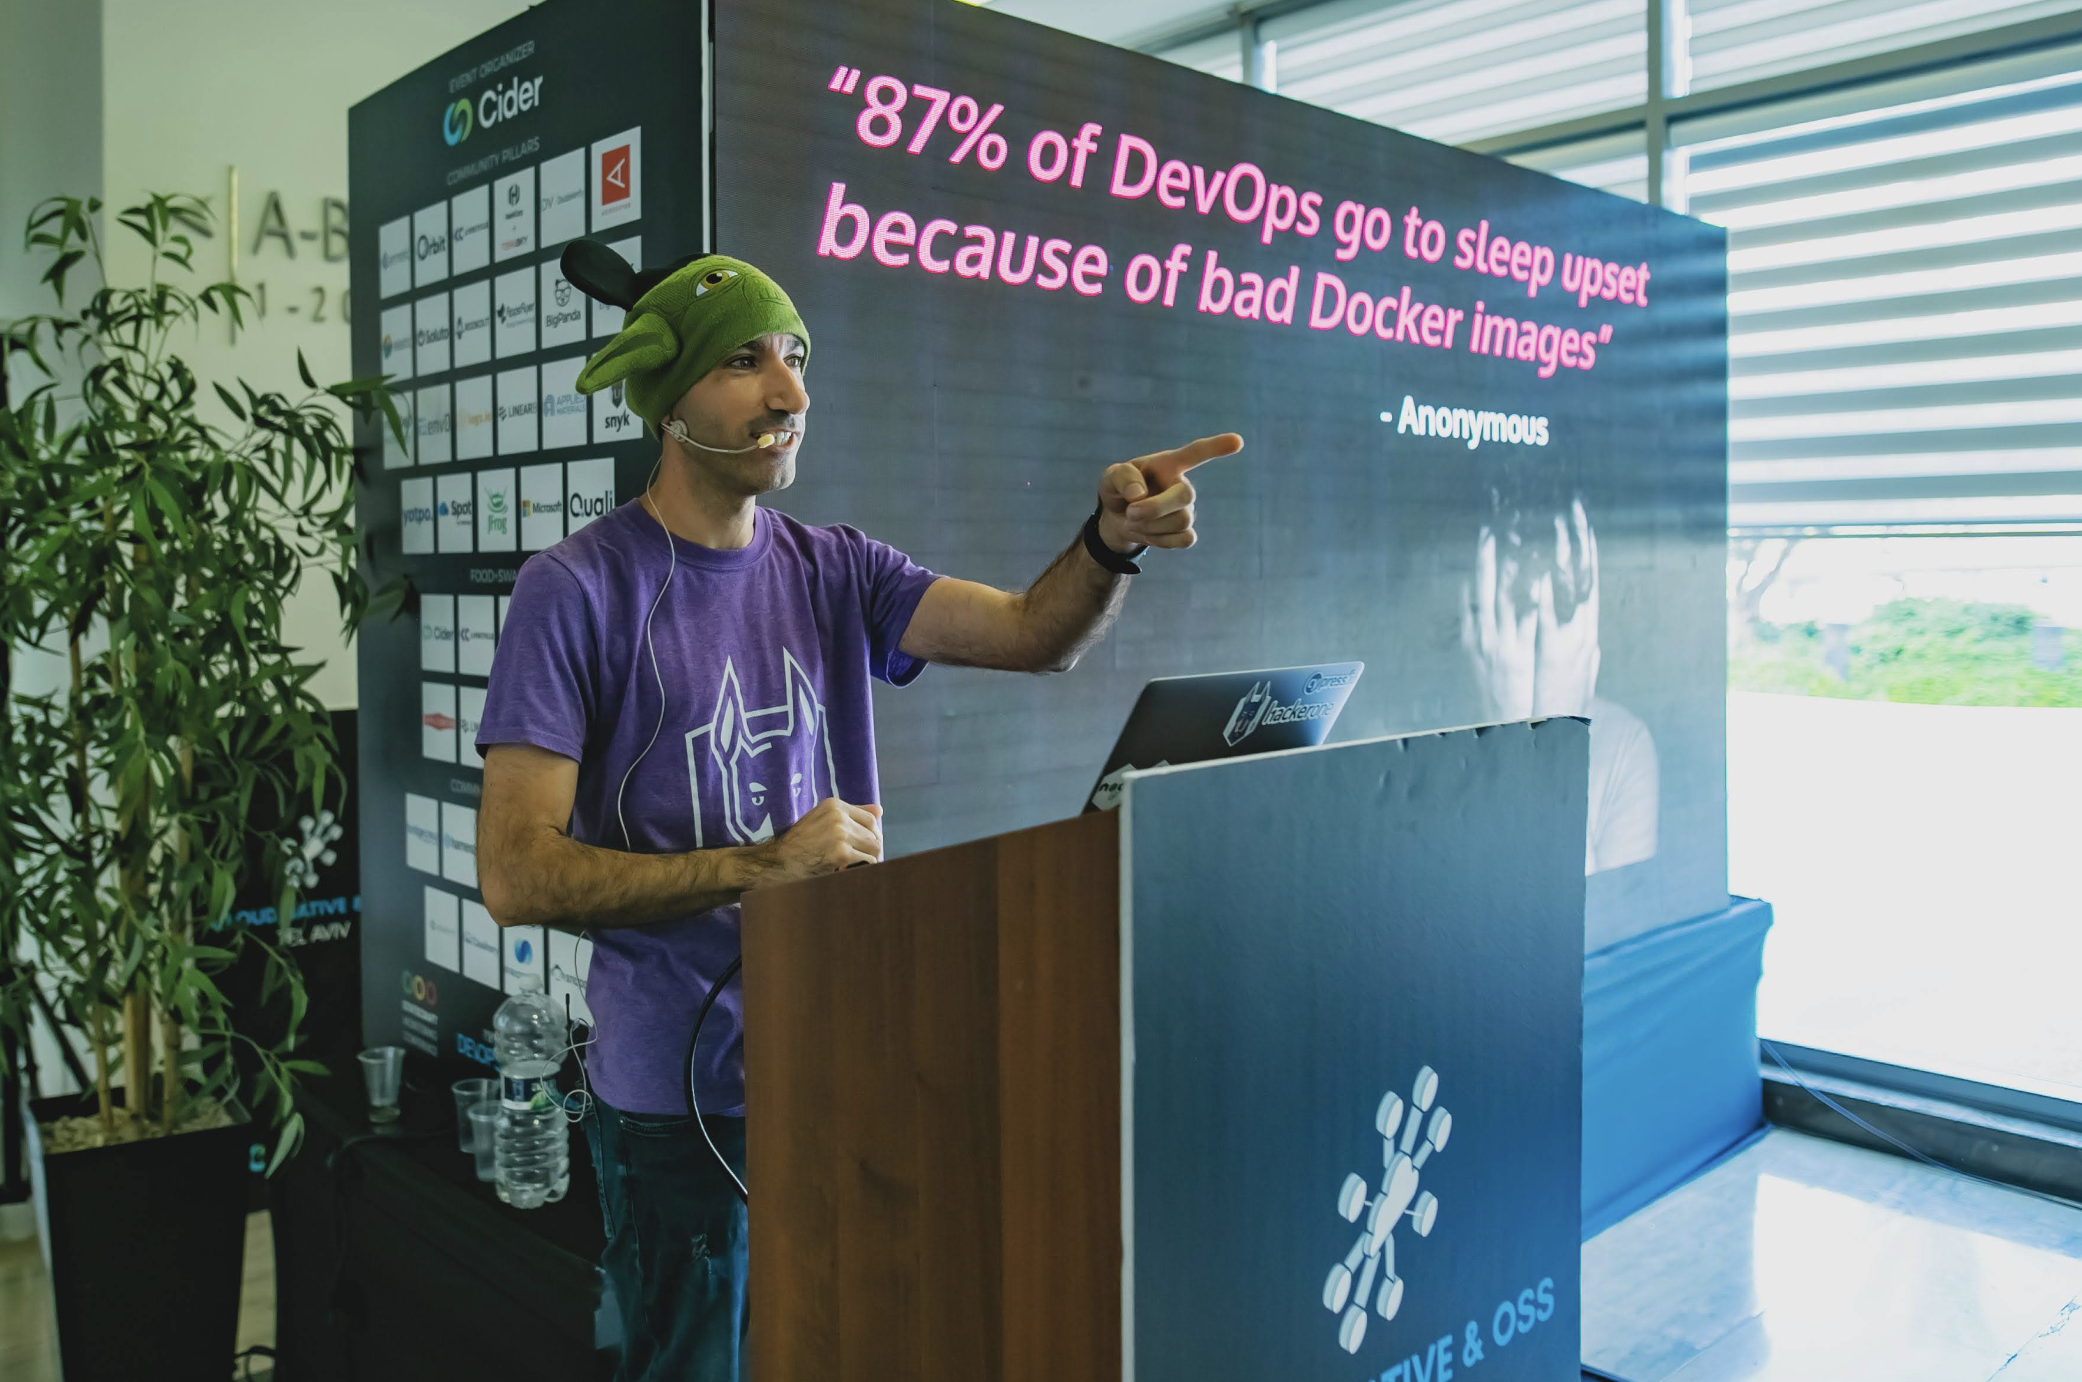
Can we make it happen…? Let’s go!
Image Detection Code Analysis
This code implements an object detection system using YOLO (You Only Look Once) model. Let me break it down by sections:
Library Imports and Their Purposes
os: Handles file paths and system operationscv2(OpenCV): Image processing and manipulationsupervision: Provides utilities for annotating and visualizing object detectionsultralytics: Implements the YOLO model for object detection
Getting Started with Computer Vision in Python
We’ll go through a simple example of how to use the Ultralytics YOLO model for object detection and Supervision for annotating the detected objects in an image.
Our ultimate goal is to provide an input image and get an output of the same image with bounding boxes and labels around the detected objects. The detection is provided via the YOLO model, and the annotation is done using Supervision.
Environment Setup
Sets up the imports for the Python libraries used in the code:
import os
import cv2
import supervision as sv
from ultralytics import YOLO
Sets up paths for input images and working directory.
HOME = os.path.expanduser(".")
EXAMPLE_IMAGES_DIR = os.path.join(HOME, "image_detection_examples")
IMAGE_PATH = f"{HOME}/image_detection_examples/dog-1.jpeg"
And then declare the main function:
if __name__ == "__main__":
    print("Image detection environment set up.")
The next code snippets will be inside the if __name__ == "__main__": block.
Image Preprocessing
Loads the image using the OpenCV library:
image = cv2.imread(IMAGE_PATH)Not always required, but sometimes you may want to apply padding so that the annotation is within the visible area of the image. If so, you can achieve it using the same OpenCV library that adds white padding around it to improve detection accuracy:
    padding = 100
    image_with_padding = cv2.copyMakeBorder(
        image,
        top=padding, bottom=padding,
        left=padding, right=padding,
        borderType=cv2.BORDER_CONSTANT,
        value=[255, 255, 255]
    )
Object Detection
Loads the YOLOv8 model and performs object detection on the padded image:
    model = YOLO("yolov8s.pt")
    result = model(image, verbose=False)[0]
Annotation Setup
Prepares tools for drawing bounding boxes and labels around detected objects:
    detections = sv.Detections.from_ultralytics(result)
    box_annotator = sv.BoxAnnotator()
    label_annotator = sv.LabelAnnotator()
Image Annotation
Draws bounding boxes and labels on the image for each detected object:
    annotated_image = image.copy()
    annotated_image = box_annotator.annotate(annotated_image, detections=detections)
    annotated_image = label_annotator.annotate(annotated_image, detections=detections)
Output
Saves the annotated image to disk as annotated_image.jpg:
    cv2.imwrite("annotated_image.jpg", annotated_image)
    print("Annotated image saved successfully.")
The code demonstrates a complete object detection pipeline: from loading an image, processing it, detecting objects using YOLO, and finally visualizing the results with bounding boxes and labels.

—
The code for this small project is available on GitHub so that you can easily reproduce and extend it: https://github.com/lirantal/image-detection-project
